DIY Concrete Repair
A Step-By-Step Guide to Concrete Floor and Patio Repair
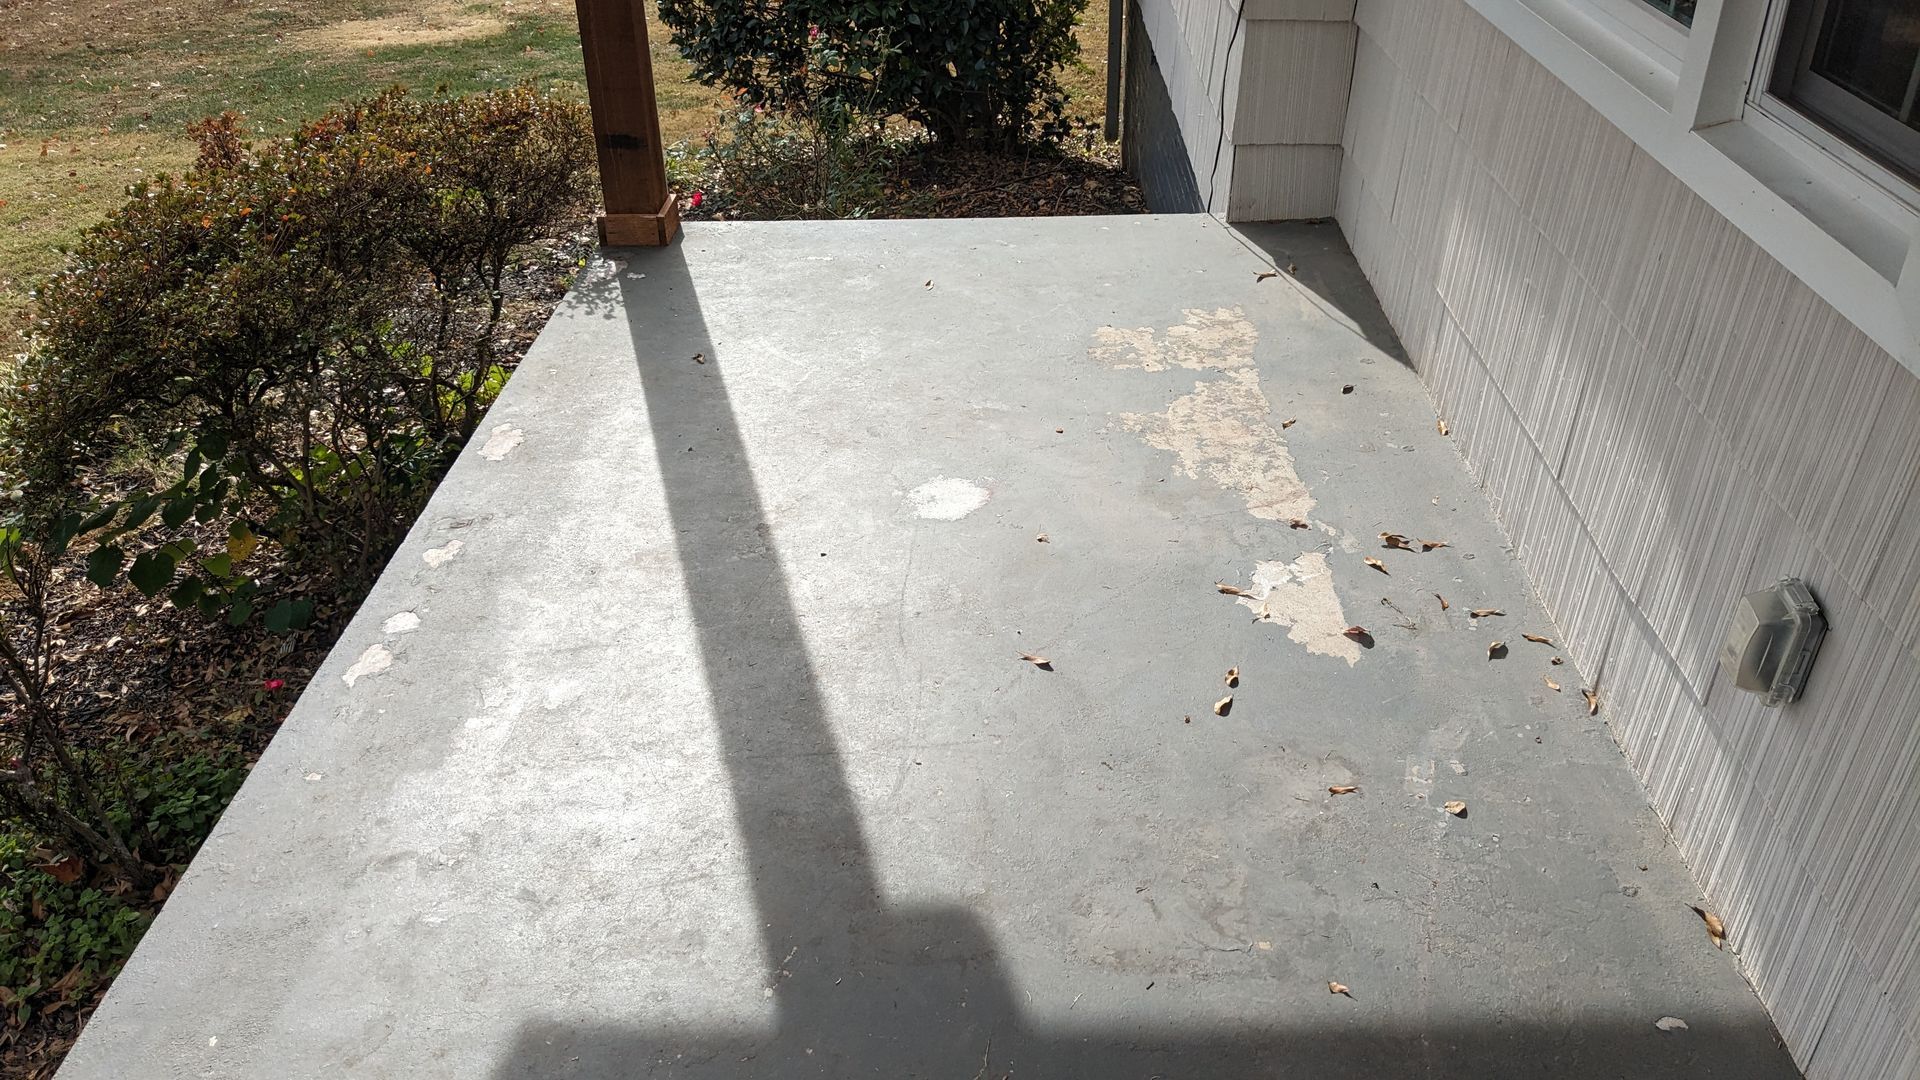
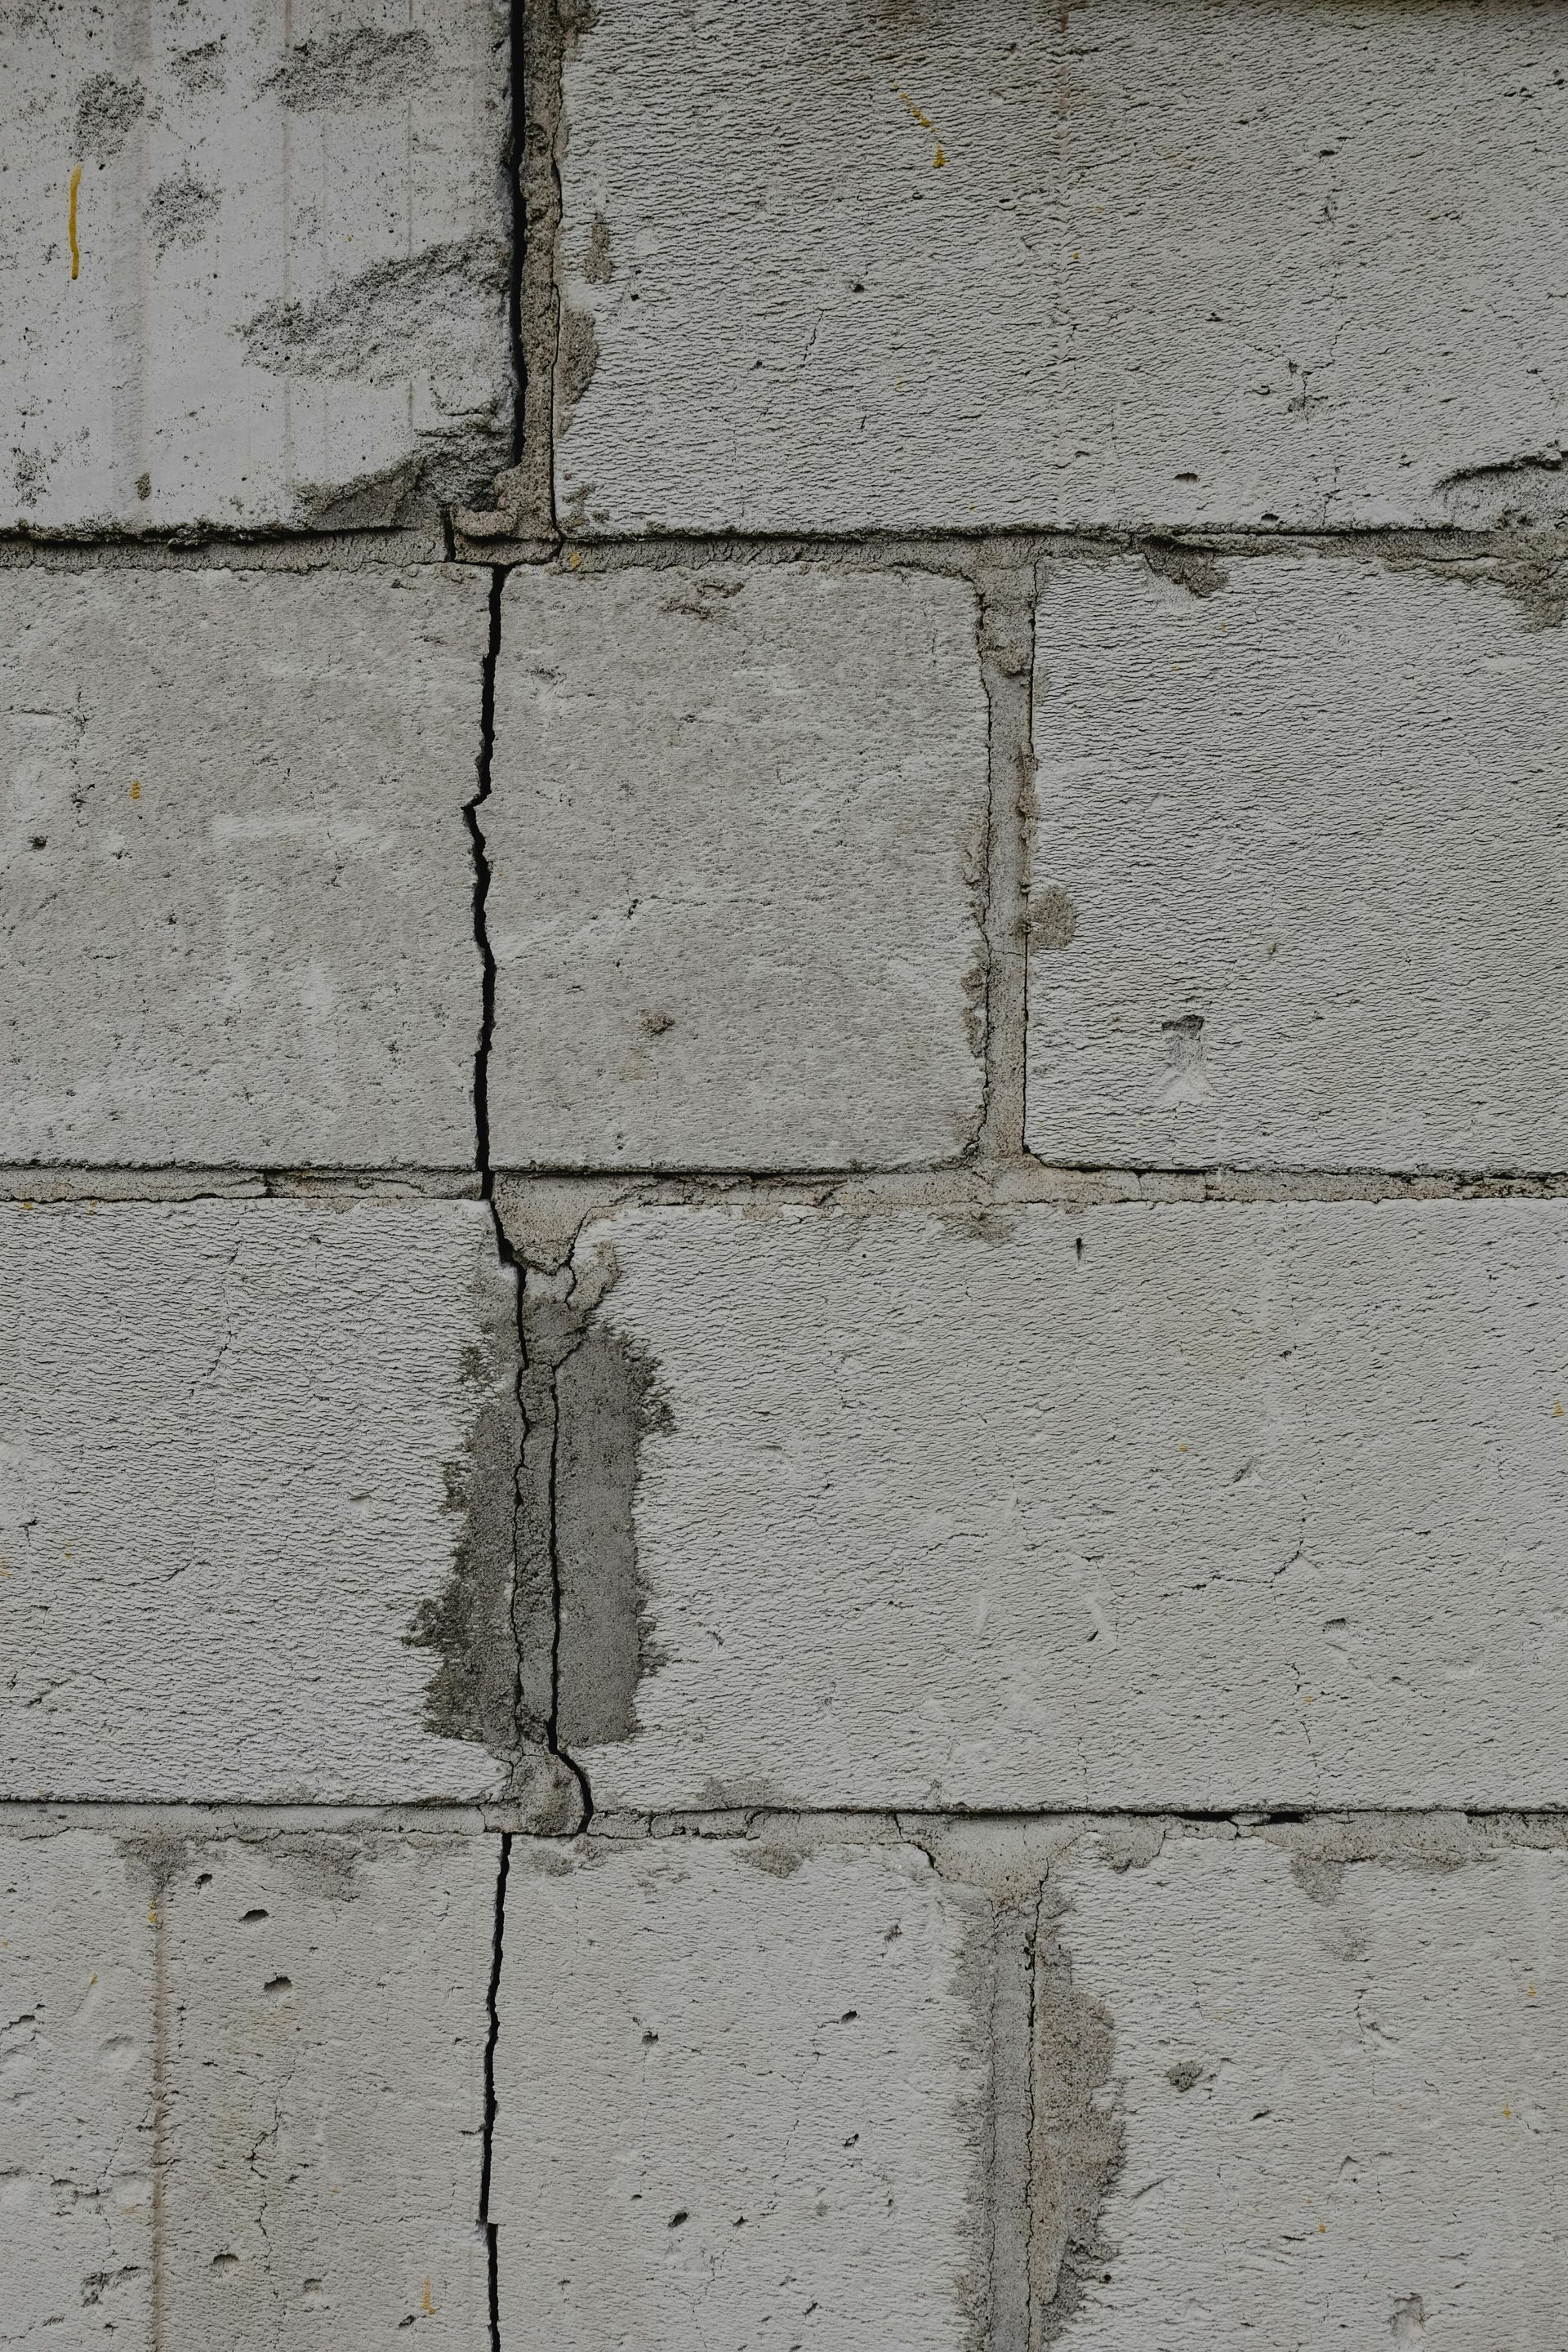
Concrete floors are tough, but they can show signs of wear and tear over time. Cracks, chips, and other damage might make your space look less polished but don’t worry—concrete floor repairs are easier than you might think.
With the right approach, your concrete floor can be restored to its best in no time. We’ll guide you through each step, making the process straightforward and stress-free.
Let’s start on those repairs; soon enough, your concrete floor will be as good as new!
Part 1: Prepping the Surface
1. Gear Up for Safety
Before getting started, it’s important to make sure you’re well-protected. This job can get pretty dusty, so grab some goggles and a dust mask to keep that stuff out of your eyes and lungs. A sturdy pair of work gloves will protect your hands from sharp bits or rough spots. If you’re going to be on your knees for a while, do yourself a favor and wear some knee pads. Once you’re all set, you’ll be ready to confidently jump into the repair process.
2. Square Up the Edges
Now that you're all geared up, it’s time to get those edges in shape. For your repair to stick properly, the sides of the crack or hole must be nice and square. Grab your chisel and hammer, and tap away at any rounded or uneven edges until they’re straight. If you accidentally chisel off too much, don’t stress—you can easily patch those spots later. But remember, if the edges are already squared off, there’s no need to go overboard. This step is about creating a clean, solid surface for the next part of the repair.
3. Clear Out the Debris
With the edges squared off, clear out the larger debris. Use a broom to sweep away any big chunks of concrete and collect them in a pail. This will help the bonding agent stick properly.
4. Thoroughly Vacuum the Area
After clearing the big debris, it’s time to remove the fine dust and small particles. Use a shop vac to thoroughly clean the crack and surrounding area thoroughly, ensuring the mortar bonds well. If you don’t have a shop vacuum, skip the regular vacuum—it could get damaged. You can use a fine brush to sweep up as much dust and debris as possible.
5. Scrub the Area
Now that it’s cleared, it's time to prepare the surface. Use a wire brush dipped in water to scrub the entire crack or hole, focusing on the edges, sides, and bottom. This helps the bonding material stick better. Usually, you won’t need to wait for the water to dry, but check your product’s instructions. If it requires a dry surface, let it air dry before moving on.
Part 2: Applying the Mortar
6. Apply a Bonding Agent
Now that your surface is prepped, it’s time to apply a concrete bonding agent. This liquid helps the new concrete stick to the old surface. Dip a paintbrush into the bonding agent and spread a smooth, even layer over the entire crack or hole.
Make sure you cover every part thoroughly. Once you’re done, let the bonding agent dry for about an hour. If the product you’re using has specific instructions on how much to use or how long to let it dry, be sure to follow them closely for the best results.
7. Mix the Mortar
Now that the bonding agent is set, it’s time to mix the repair mortar. Start by pouring the dry mortar mix into a bucket, making sure it’s a type designed for concrete repairs. Follow the package instructions to add the right amount of water, then mix it thoroughly using a trowel, an electric mixer, or even your hands—just don’t forget your gloves.
You want the mortar to have a thick, peanut butter-like consistency. If it’s too runny, add a bit more dry mix until it thickens up. The amount of mortar you’ll need depends on the size of the crack or hole, so be sure to follow the product’s directions for the best results.
8. Fill the Gap
It’s time to start filling in the damaged area. Use a trowel or your hands to scoop the mortar into the crack or hole, pressing it down firmly to fill all the small spaces and gaps. Keep adding a mortar until it forms a slight mound above the surface of the concrete. Make sure to press the mortar tightly against the edges to create a strong bond throughout the entire area. This will help ensure a durable and seamless repair.
9. Smooth and Level the Surface
Now that the mortar is in place, it’s time to smooth it out. Grab a long trowel and scrape it across the mortar, following the length of the crack. Apply firm pressure as you pull the trowel toward you, then go back in the opposite direction. If you're dealing with a round hole, just glide the trowel evenly across the surface. Remove any excess mortar as you go.
10. Smooth the Edges
With the surface level, it’s time to smooth out the edges. Use a smaller trowel to carefully press the mortar against the edges of the crack or hole, making it flush with the surrounding concrete. Work your way around the entire border, ensuring the mortar blends seamlessly with the existing surface. You may need to review the edges a few times to get everything even. This step is key to achieving a clean, professional-looking finish.
11. Final Smooth
For the final touch in your concrete floor repairs, use your long trowel to smooth out the surface completely. This will remove any extra mortar and ensure the repair is level with the surrounding concrete. Work the trowel back and forth, and repeat until the surface is perfectly even. This final step will give your repair a clean, polished look that blends seamlessly with the rest of the floor.
12. Protect it from the Sun
To ensure your repair dries correctly, shield it from direct sunlight. High heat can make the mortar dry too quickly and weaken the bond. If your repair is in the sun, cover it, but make sure it doesn’t touch the mortar.
13. Allow to Dry
After all your hard work, give the mortar time to dry. Allow it to set for at least 24 hours before walking on it. To avoid any accidental steps, mark off the area and keep pets and kids away.
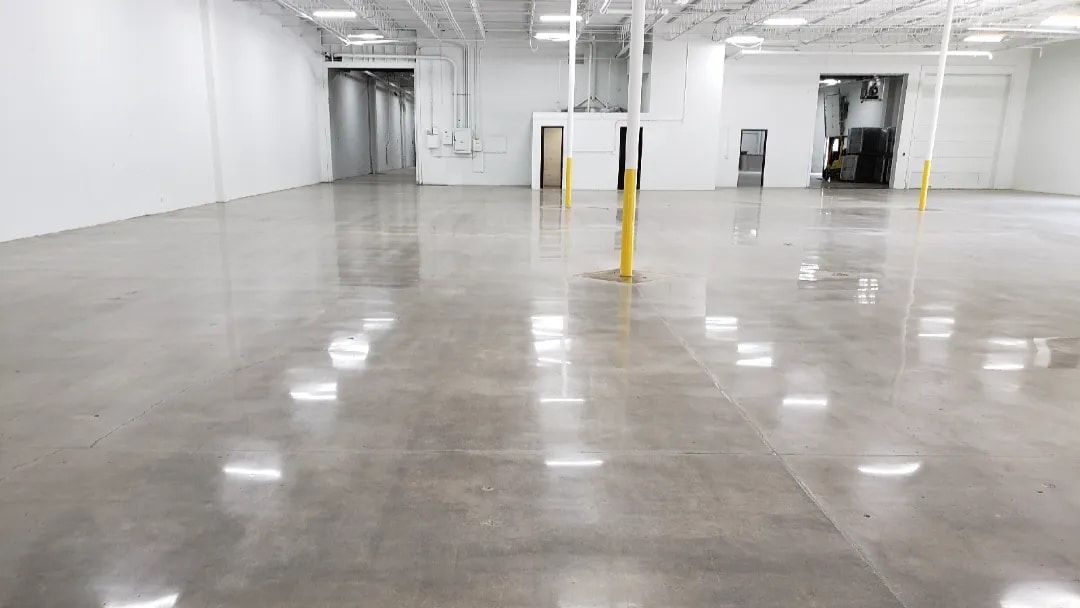
And there you have it! With these simple steps, you’ve got everything you need to tackle those concrete floor repairs like a pro. Just take your time, follow the process, and soon your floor will look as good as new.
If you need more help or want to explore other concrete services,
Zachary Daniel Concrete has you covered. From
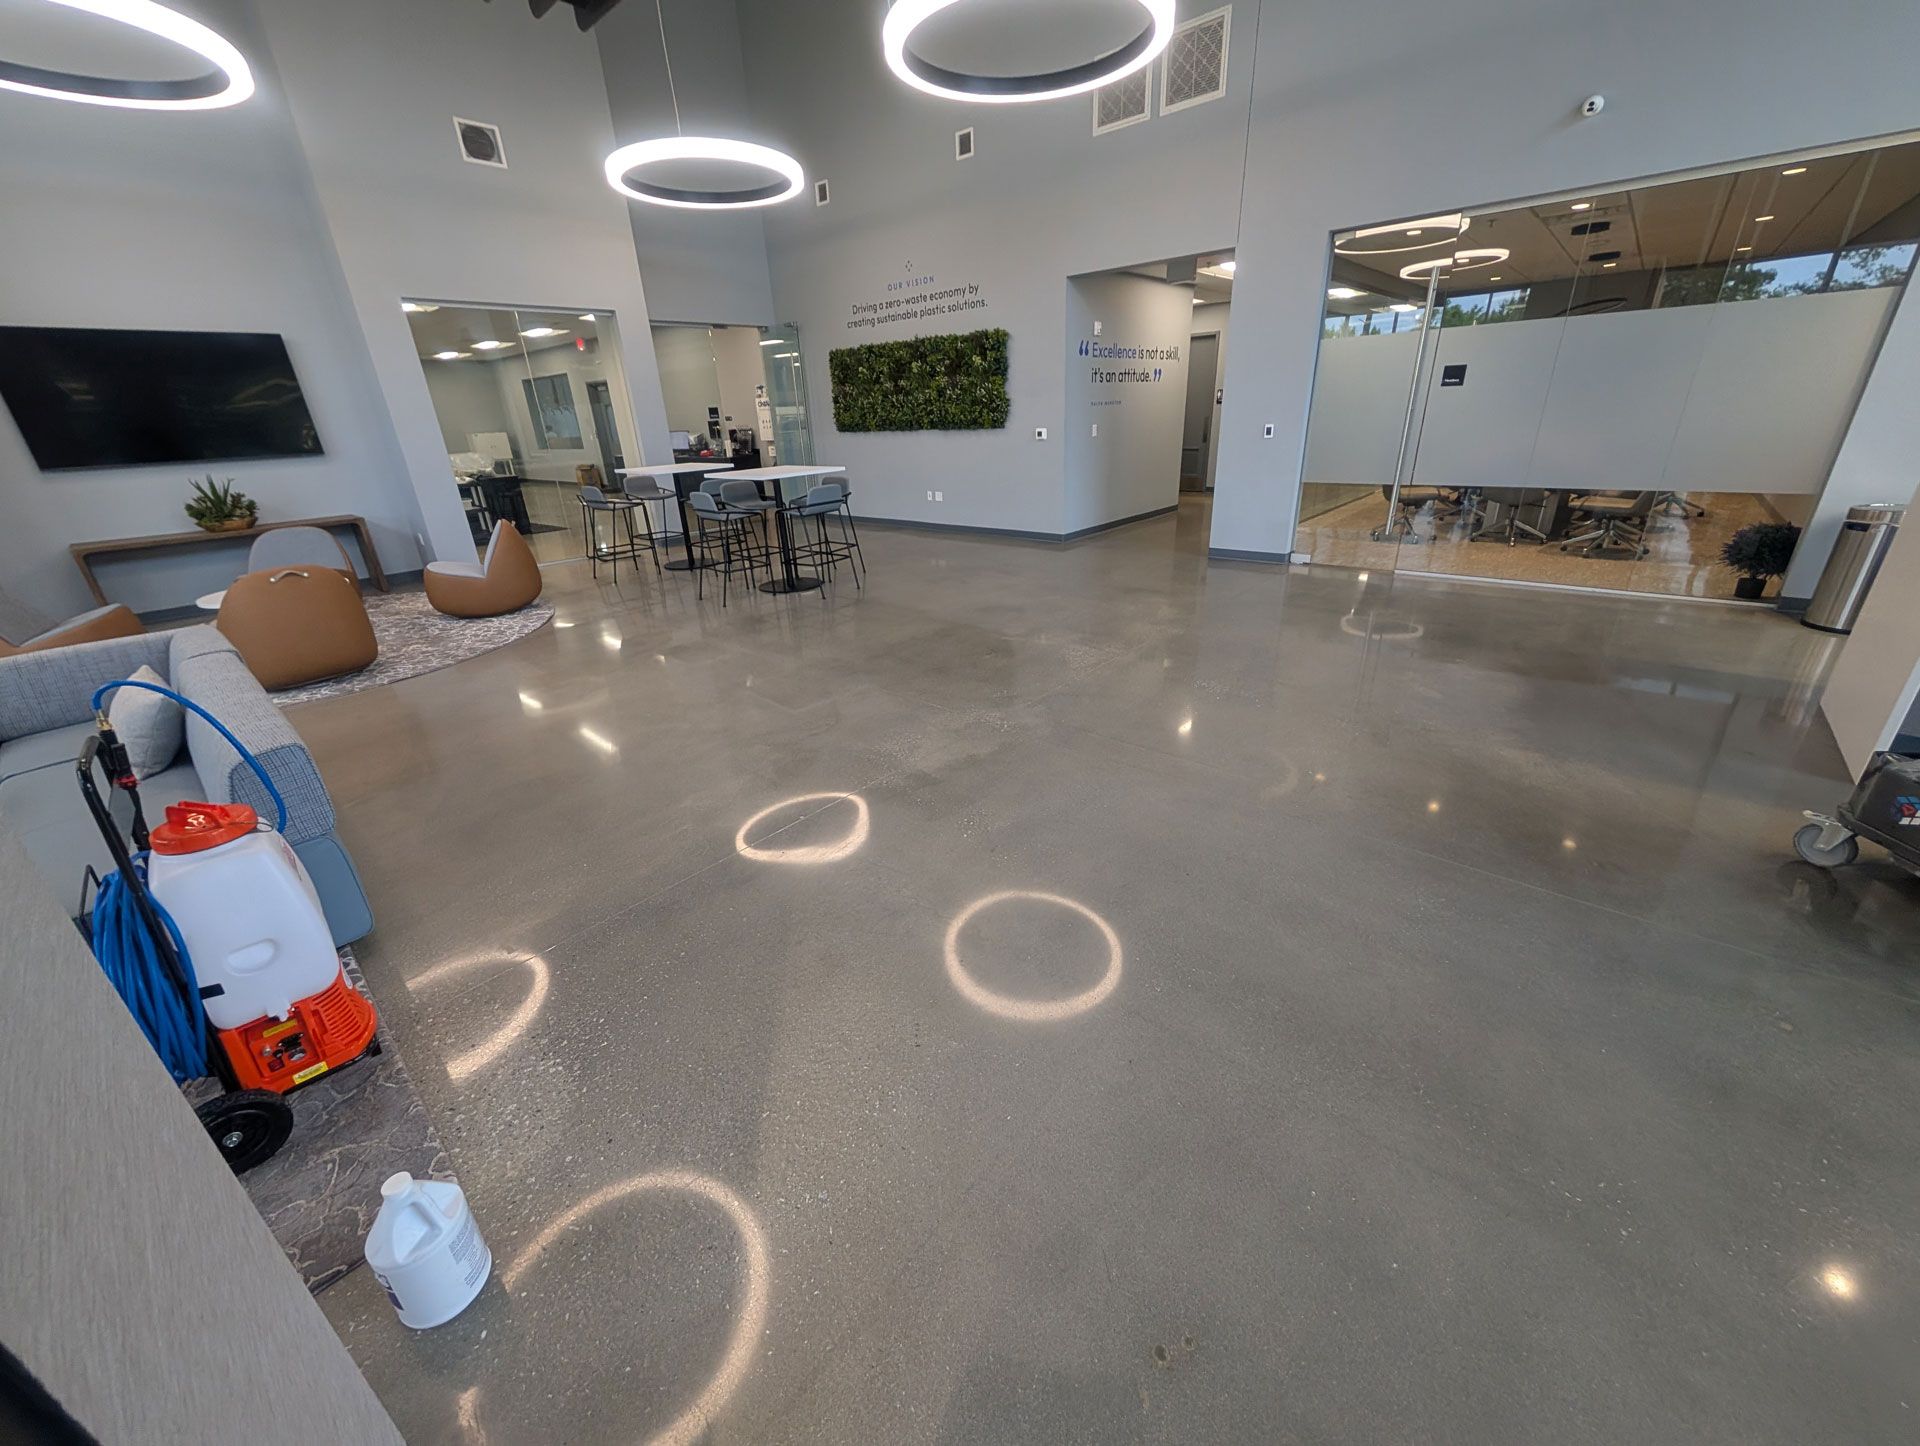
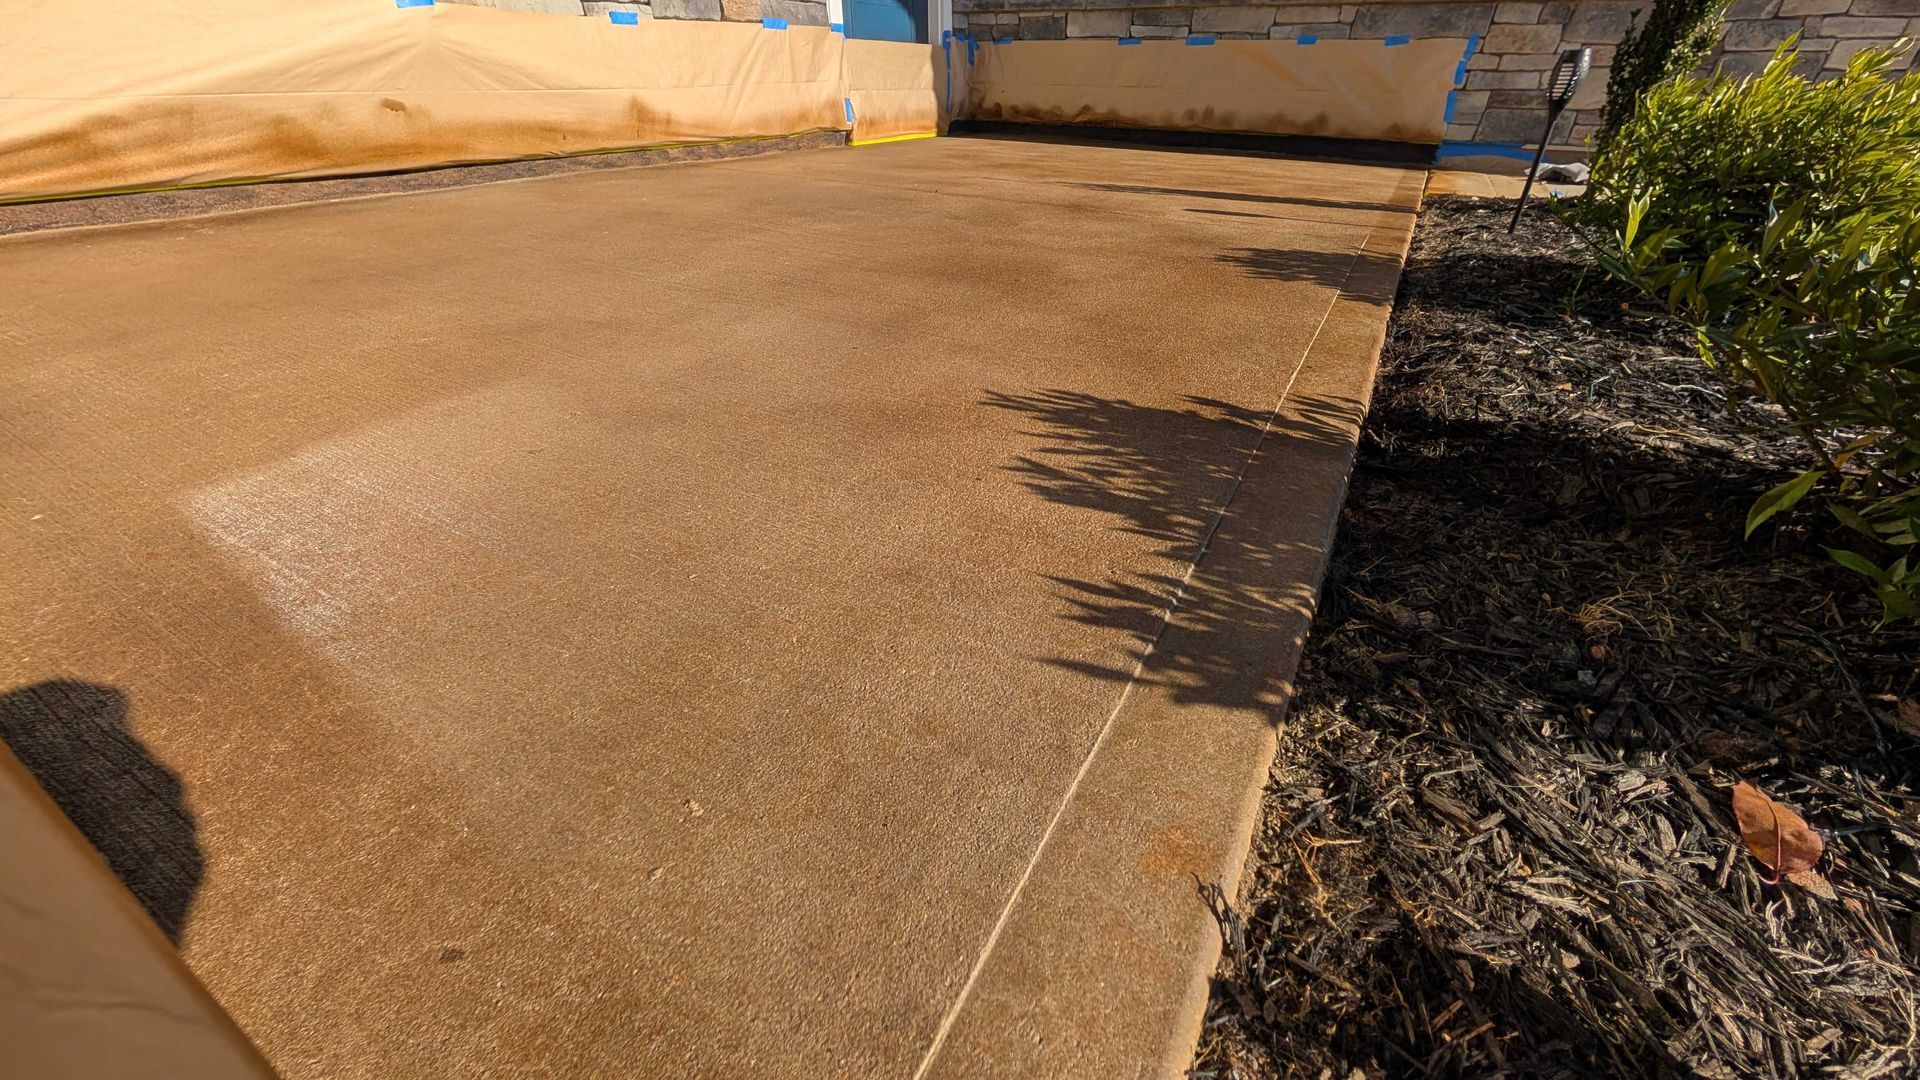
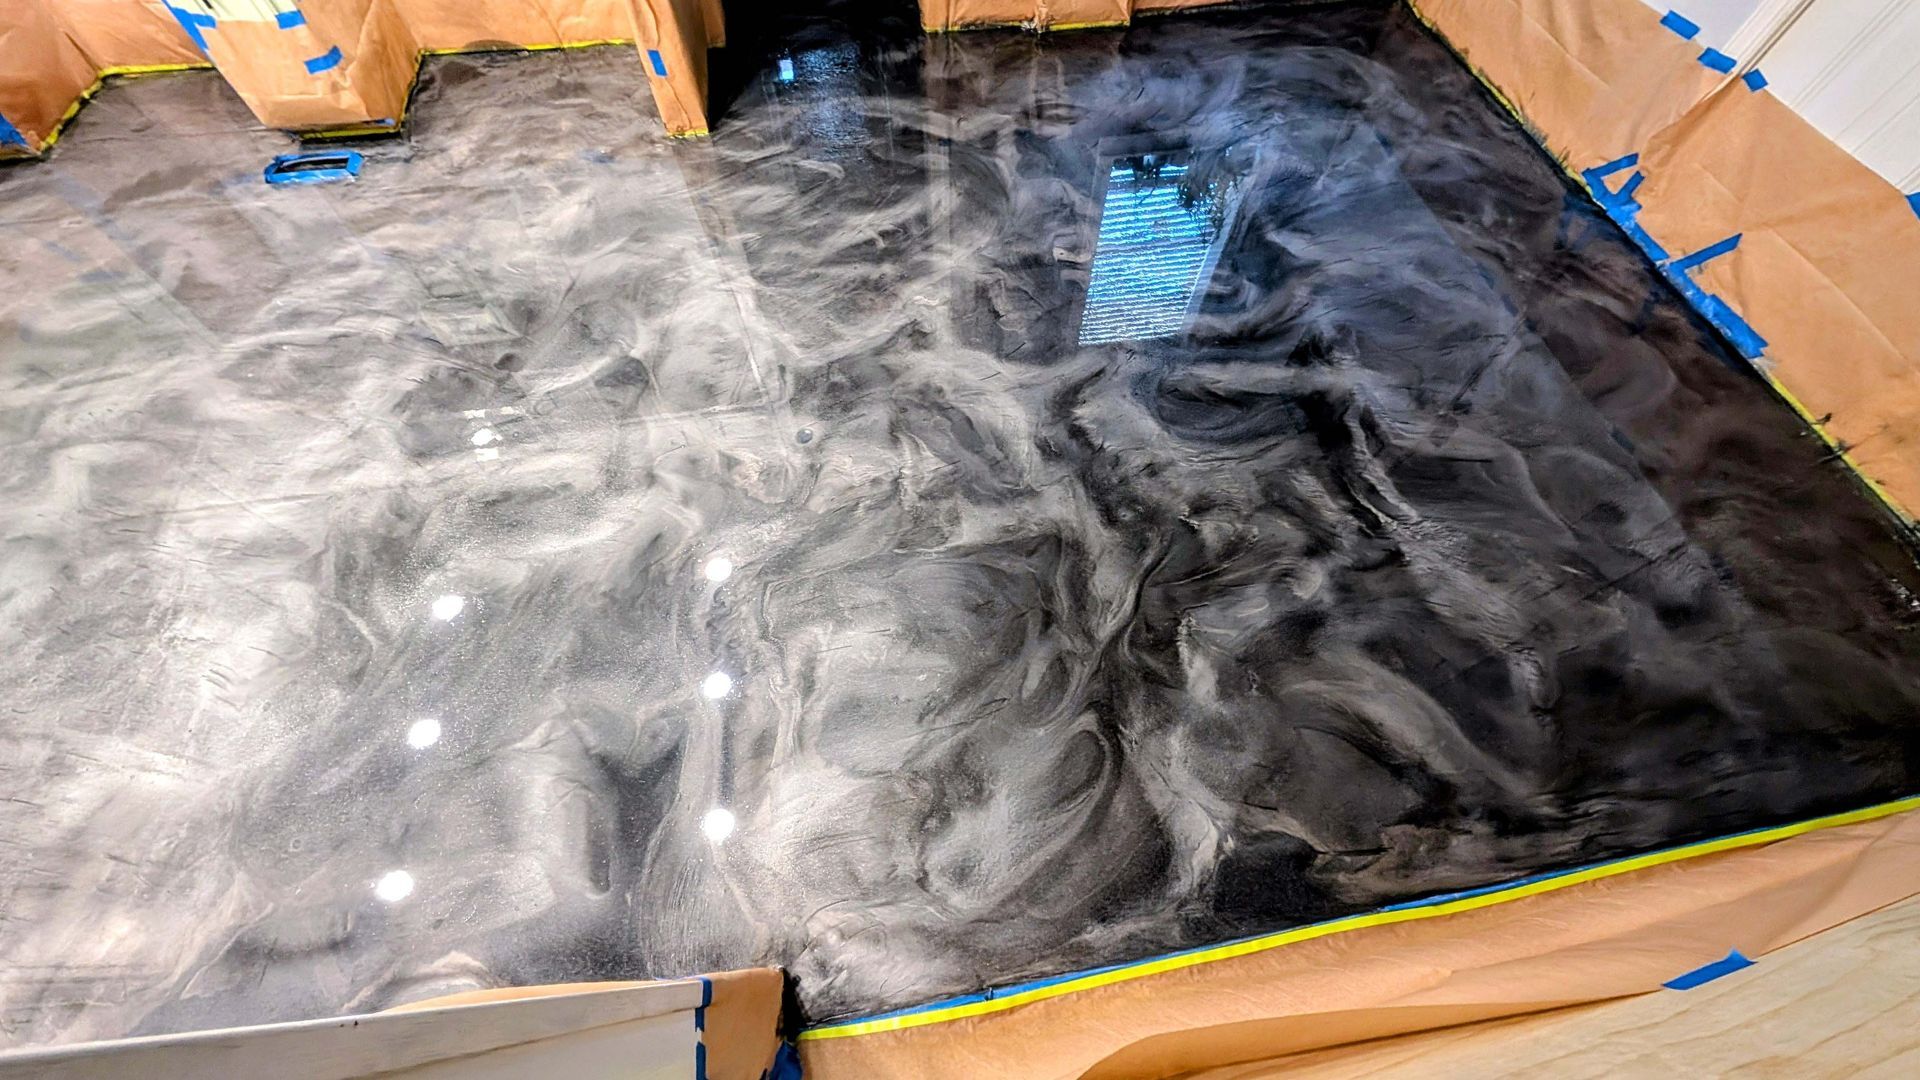
concrete staining to
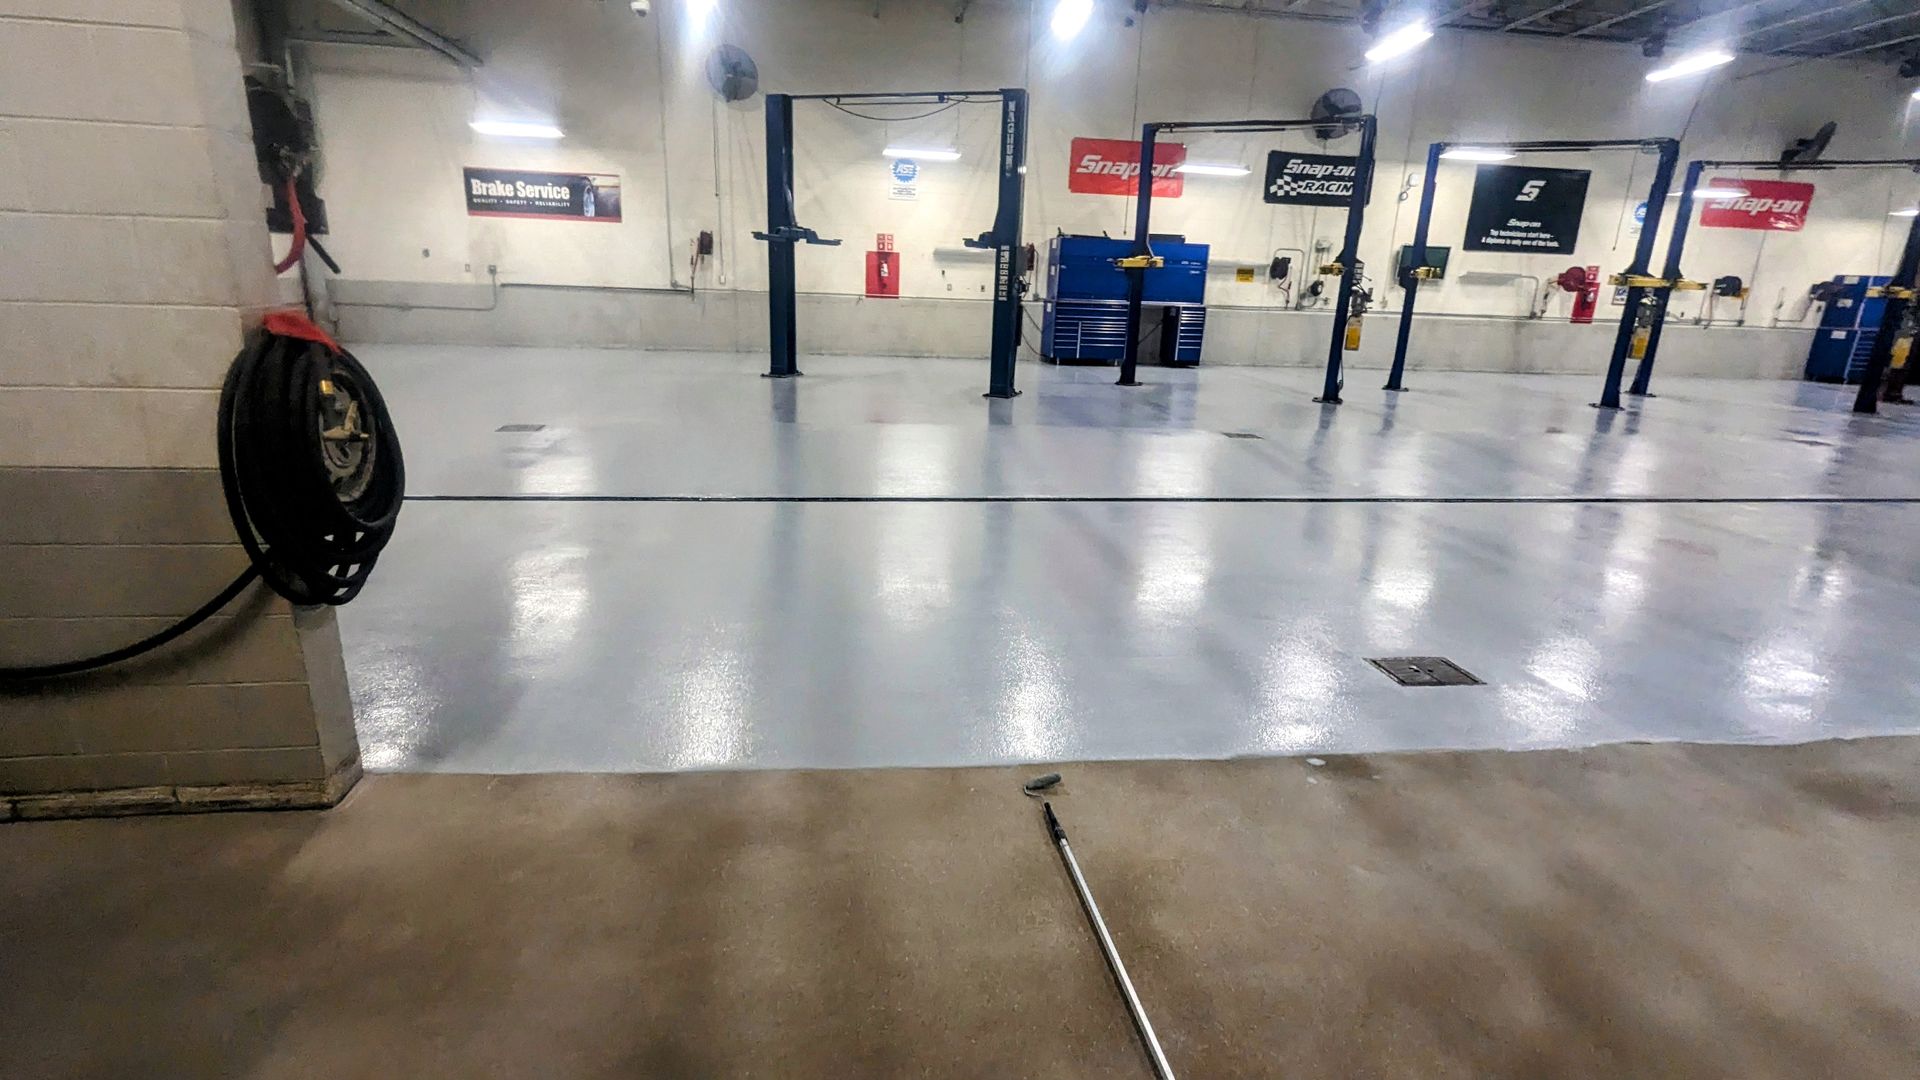
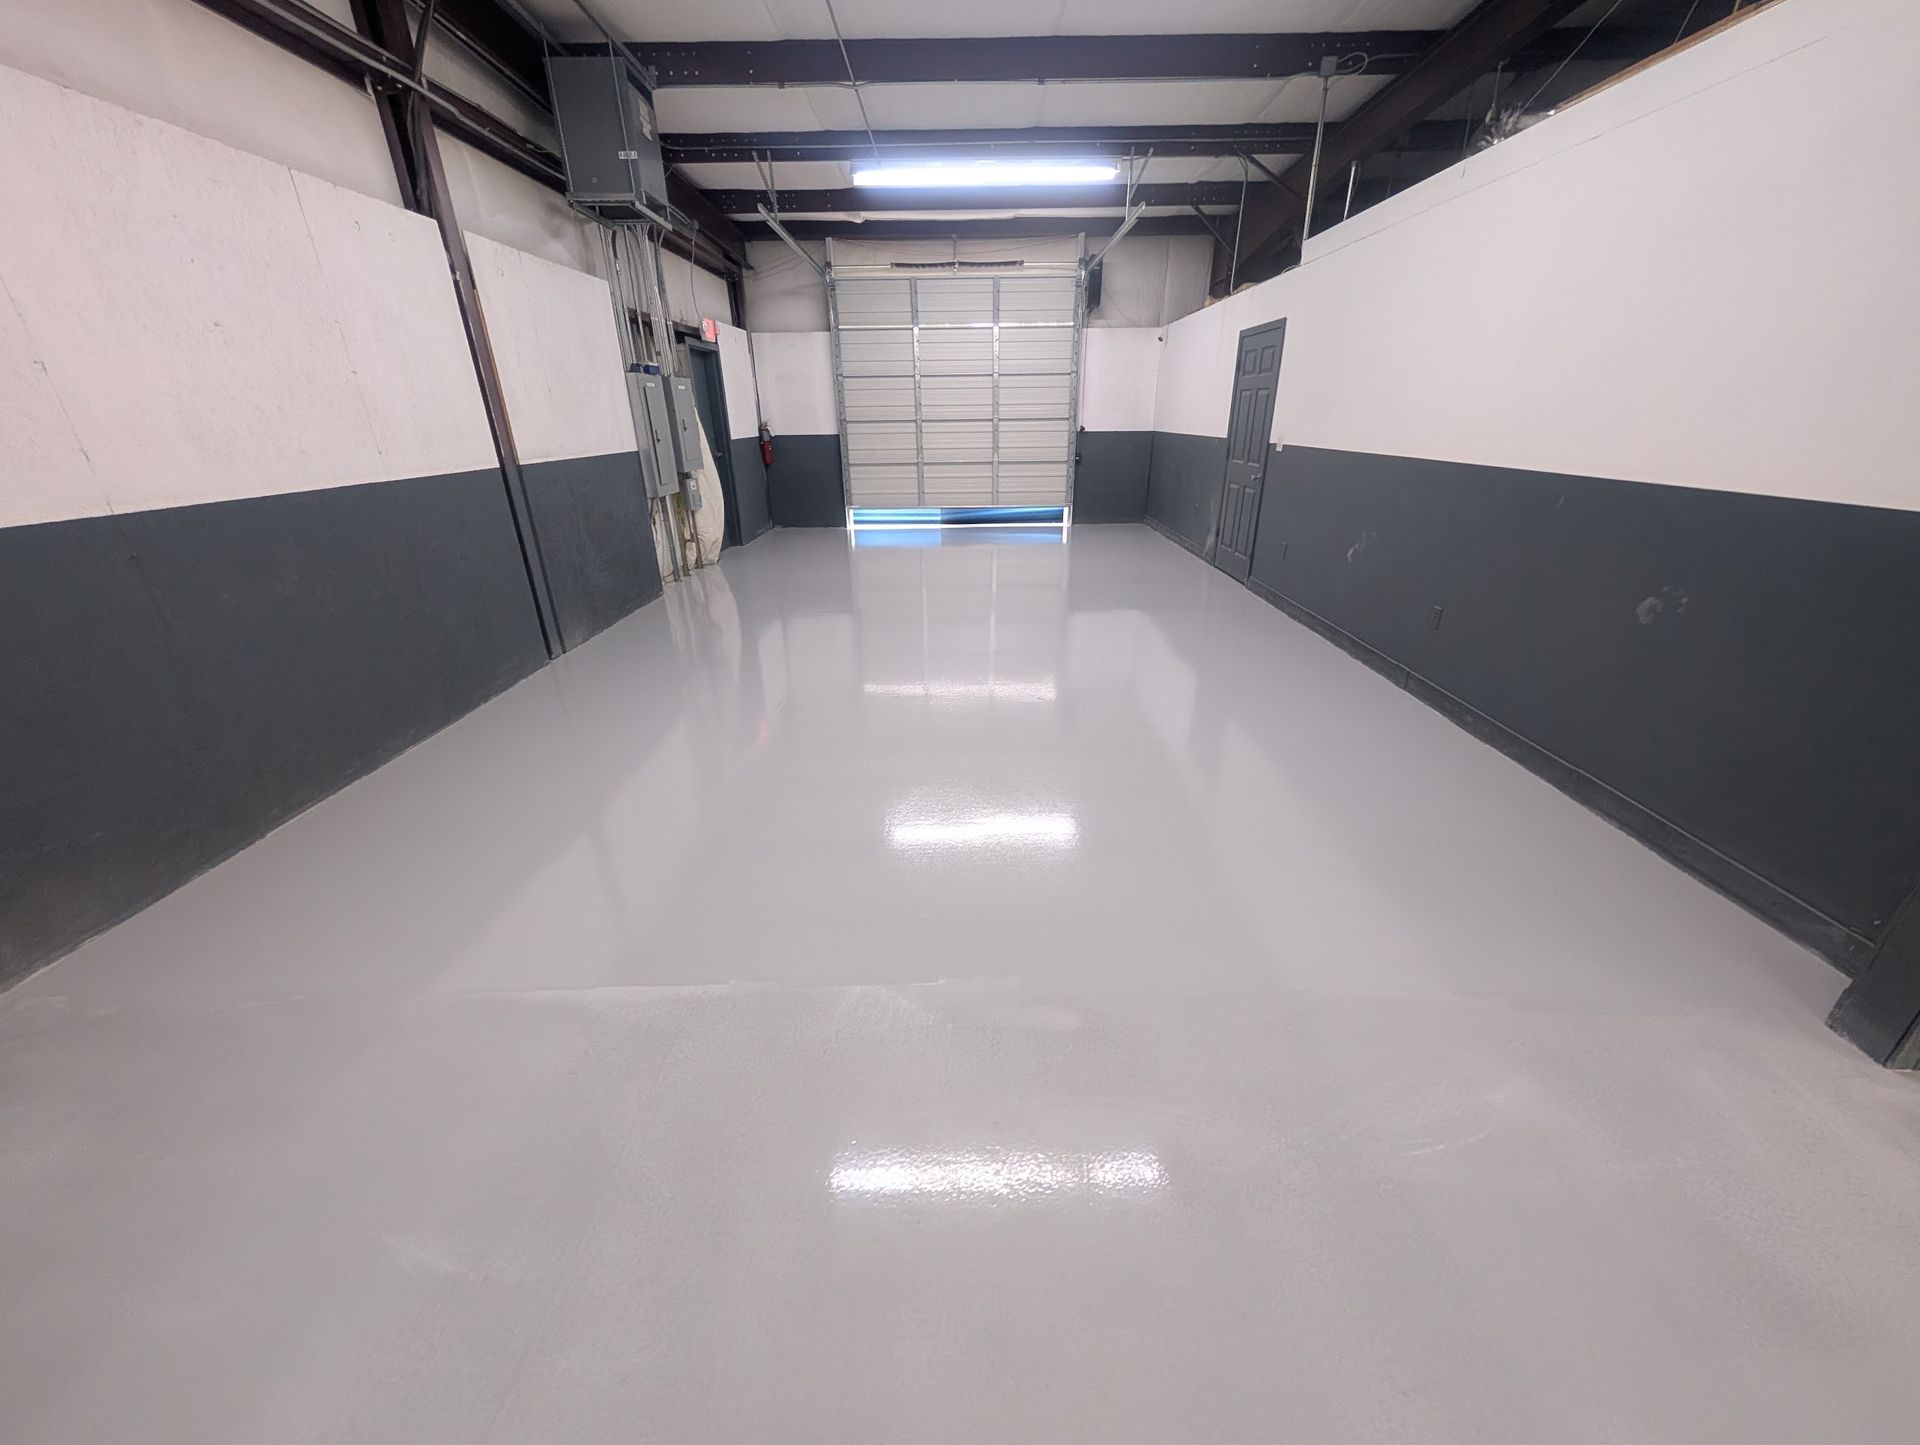
epoxy flooring and even
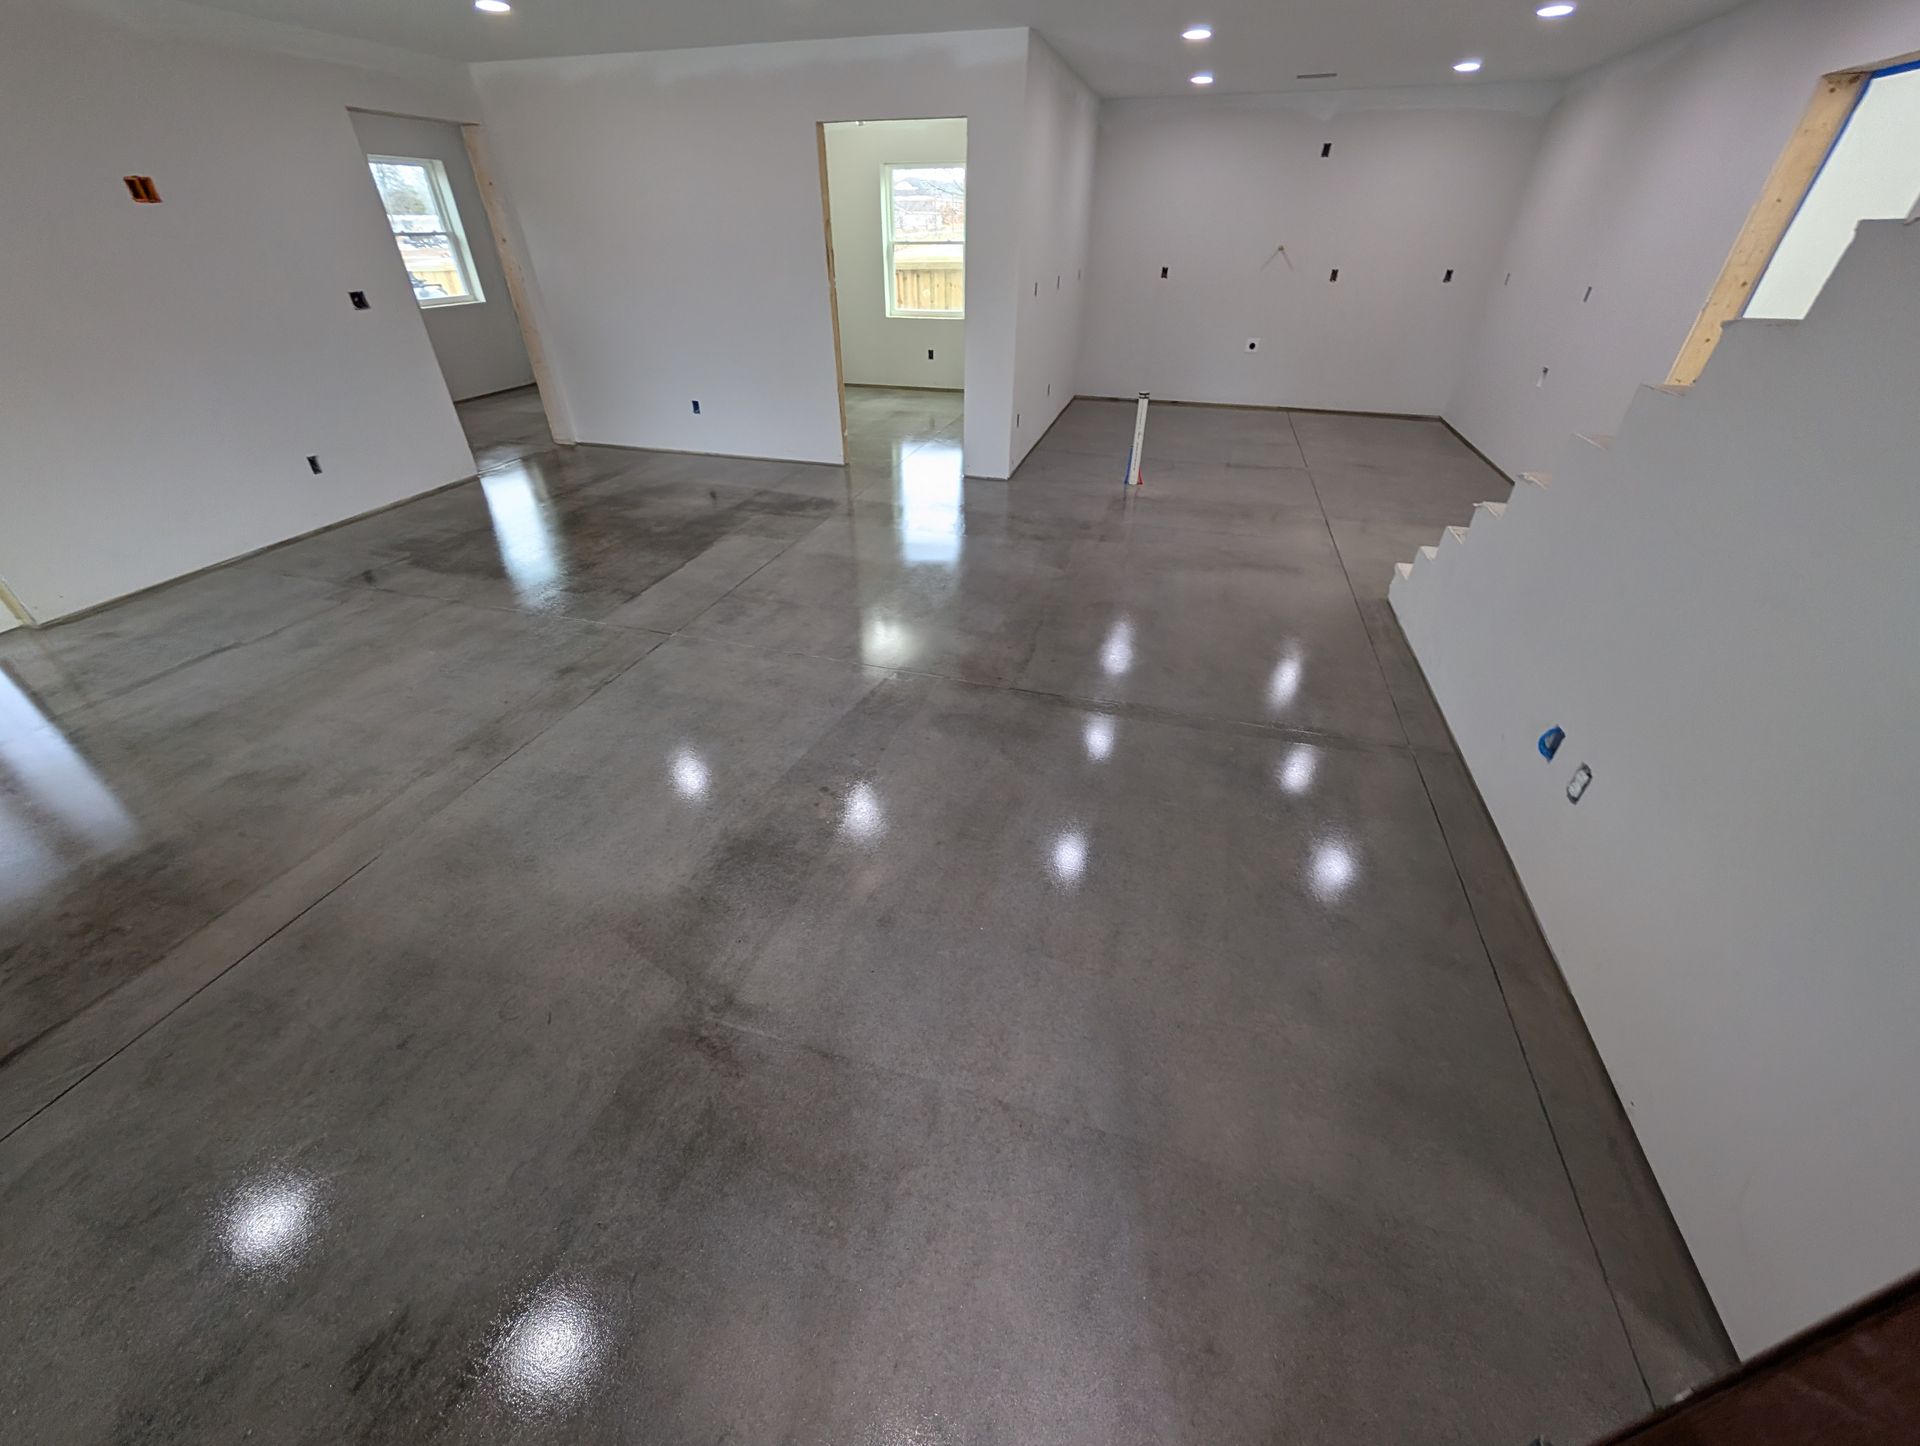
floor restoration, we’re the experts in making your floors look their best.
Need assistance or want to learn more about what we can do?
Call us at (864) 770-8608 or (864) 770-8608. Whether residential or commercial, we’re here to help with all your concrete needs in Greenville, SC. Let’s get your floors looking amazing!